
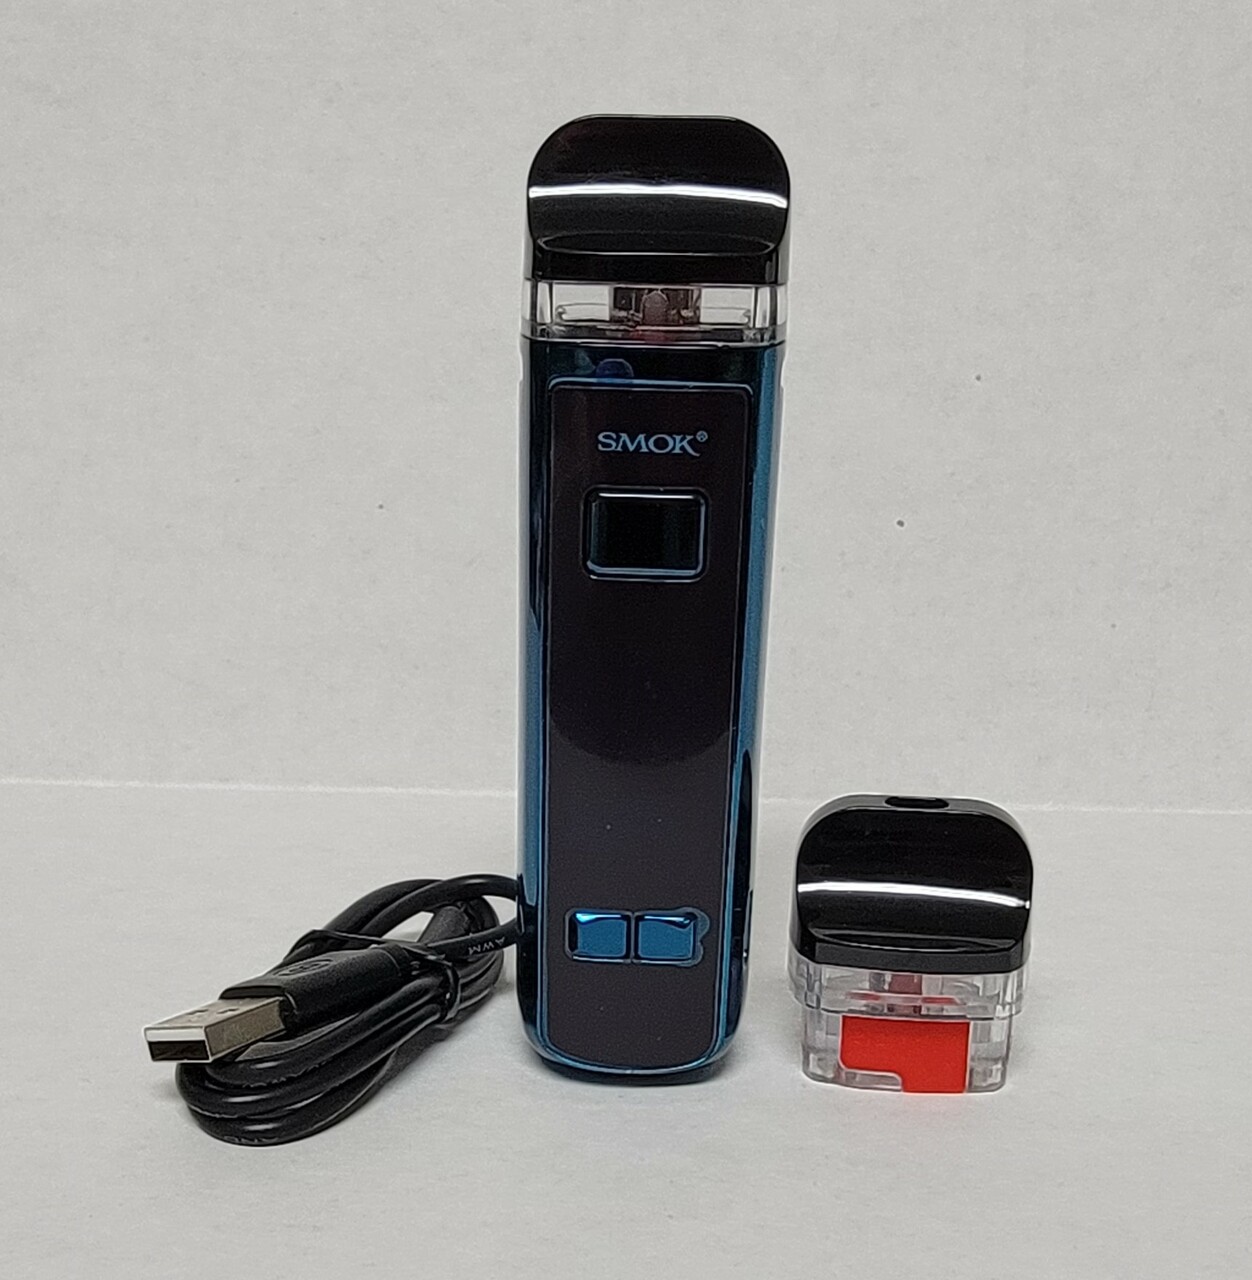
SMOKtech has released several best-selling vape
systems over the years, but the SMOK RPM 2S 80W Kit has proven to be
one of their most popular of all, for seamlessly blending together the
satisfaction associated with sub-ohm vaping with the convenience of a pod mod
system. This highly portable vape kit
reaches up to 80 watts of power with the help of a single 18650 battery and
comes with both the RPM and RPM 2 pods so that you can switch between different
types of e-liquid, while holding an impressive 7mL at a time.
If you’ve recently gotten your hands on the RPM 25,
you’re going to want to know how to properly set it up and start using it as
soon as possible, so you can enjoy all of its features and make sure that
you’re customizing its settings to experience the satisfying vape you’re
looking for.
How to Use the SMOK RPM 2S 80W Kit
Step #1: Remove
the RPM Pod Mod, the type-C cable and your preferred pod and compatible coil
from the packaging. The RPM 2 RPM Pod
and RPM 0.4ohm Mesh Coil are for vaping with salt nic e-liquids, while the RPM
2 RPM 2 Pod and RPM 0.16ohm Mesh Coil are for vaping with freebase nic
e-liquids. Leave the user manual in an
accessible place as you may need to refer to it at some point.
Step #2: Insert
into the device a fully charged 18650 battery, which is sold separately. The charging cable that comes with the device
allows you to charge your battery while it remains in the device through a
type-C charging port.
Step #3: Now,
you can prepare your pod. Once you’ve
selected the pod that you wish to use according to your nicotine preferences,
install the coil into it and fill the pod with the appropriate type of
e-liquid. You always want to wait 5
minutes after filling your pod to allow the wick of the coil to properly absorb
enough vape juice, which is known as “priming.”
Step #4: Now,
you can attach the pod to the device, which is done magnetically. Then, you can turn the device on. The display screen will light up.
Final Step:
Use the display screen and navigation buttons to adjust your output settings
according to your preferences. Always
start with the lowest wattage setting and slowly work your way up to avoid
burning your coil. Then, hold down the
firing button and enjoy your first puff of vapor.
Leave a Reply