
Vaping is a community made up people who are looking for
ways to customize their own tastes and find inexpensive ways to create their
own favorite flavors
. There are choices you need to
make as to which way(s) will give you the quality you are looking for as well
as cater to your vaping tastes over and over again.
With that said, we’ll take an in-depth look at the 3 groups of DIYs: DIY
e-juice mixes, DIY MOD creations, and DIY coil building. From there, hopefully
you will be able to choose which one works best for your vaping needs.
DIY E-Liquid
Once you experiment a bit in making an e-juice with the different levels of
nicotine and flavors, as well as the PG and VG levels, you will be able to pin
down your favorite flavor and make it again and again.
Supplies Needed:
- Diluted
Nicotine
Diluting is the key with nicotine because higher strengths may mean your e-juice
flavor may taste different as opposed to lowering the concentration that you
use. You may want to buy nicotine that is already diluted with VG. The industry
standard is 100mg/mL diluted nicotine for consistent flavor every time. - PG and VG
PG is propylene glycol. VG is vegetable glycerin. They are the base of the
formula and the means by which nicotine and flavorings need to be
diluted.
PG will give you a stronger throat hit, which could cause irritation if you use
that same formula over a long period of time. VG has less of an adverse effect
on how it makes your throat feel, and it creates a more visual cloud effect
because of its thick quality.
The best ratios to use of PG/VG are 70/30, 50/50, or 30/70. - Flavors
A recommended ratio for dilution is 5-10% flavor even though you can go higher
at 20+% until you find the formula that satisfies you. - Bottles
/Containers
Tip bottles of the plastic drip variety are the cheapest to use.
Medium-sized 50mL bottles are easier to work with you don’t need to be as
accurate with your measurements and math. Larger amounts call for
multiple-sized cylinders or beakers. - Syringes
Use these in order to get the right amount into your formula. They also allow
you to remove liquid from the containers if necessary without spillage or
contamination. - Gloves
They keep hands safe from things like absorbing any chemicals.DIY MOD Creating
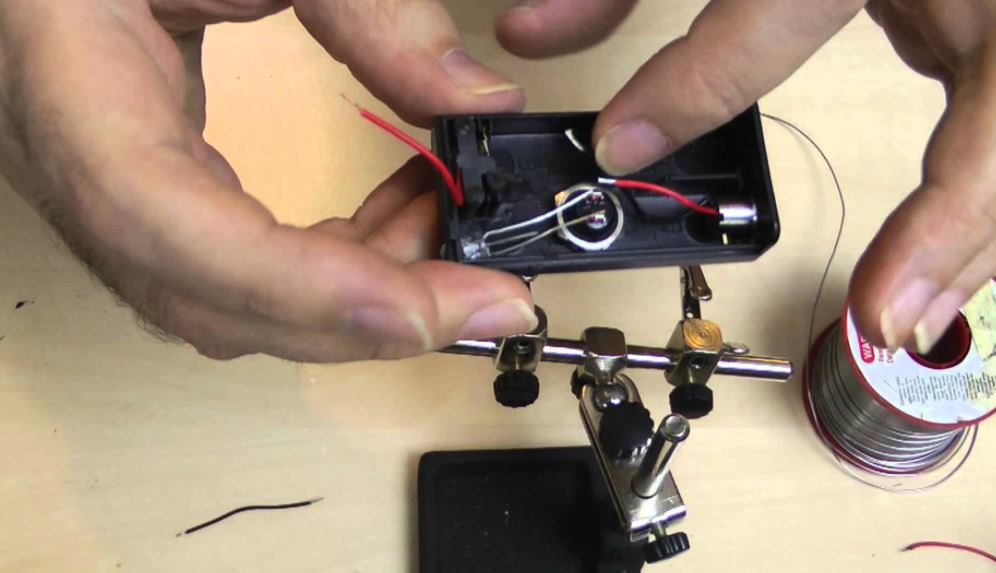
A Mech MOD is the most advanced vaping MOD today. A MOD is made up of the
following: battery holder, a 510 connection, a power source from the 510 to the
battery through wires or a tube mod that goes through the “body”.Supplies
Needed:
- Body
This holds the battery itself. You can use a tin can or an old battery holder.
It has to be large enough to also hold small springs with extra space for a
wire.
Springs, Battery, and Connectors:
Any small springs and a button from a hardware store will work. For safety purposes,
make sure the springs are copper. Any typical connecting wires that can be
bought at your local hardware store will work as a connector. You will also
need a button to fire the MOD. - Tools
• Soldering gun
• Soldering wire
• Wire cutter
• Tweezers
• Something to cut holes - How to
Configure Your Supplies
• Cut out the holes in the case
• Put on the button and connector don’t
• Take the positive end of your battery holder, solder wire on it.
• Connect it to the positive end of the 510 connector
• Take another piece of wire and attach it to the negative end of the 510
connector Solder this to one of the button points.
• Take another piece of wire, solder it to the other soldering point of the
button. Link it to the copper spring.
• When the connection is working, attach all the parts
DIY Coil Building
Check out our blog that discusses
Ohm’s Law before you begin this vape process.Supplies
Needed
- Wires – Different gauges (sizes) can be chosen for this which
are: 22g, 24g, 26g, 28g, 30g, 32g and 34g. There are a few coil options
you can choose from:
- Single Coil:
Use a 4-6” piece of piece. Wrap it with your preferred wrap; install the coil
onto your RDA, RTA, or RBA. Then, adjust it where needed and wick your coil.
Put your E-liquid on your coil and you’re done.
- Dual Coil:
This is done the same way as a single coil, but it is repeated twice. - Twisted Coil: Go
to the following video for the steps:
https://www.youtube.com/watch?v=ivR5k70i2NI. Once you finish the steps of set up, you repeat the same
thing as a dual coil vape.
- Clapton Coil:
Most difficult of the four types of coil vapes. Check out the following video
for details:
https://www.youtube.com/watch?v=DMirb8MlsWk
If you want to attempt to build your
own vape gear, it is by far inexpensive in the long term and gives you the
opportunity to create the ultimate flavor, and even cloud chasing experience,
that you have been looking for but can never find. - Body
Leave a Reply