
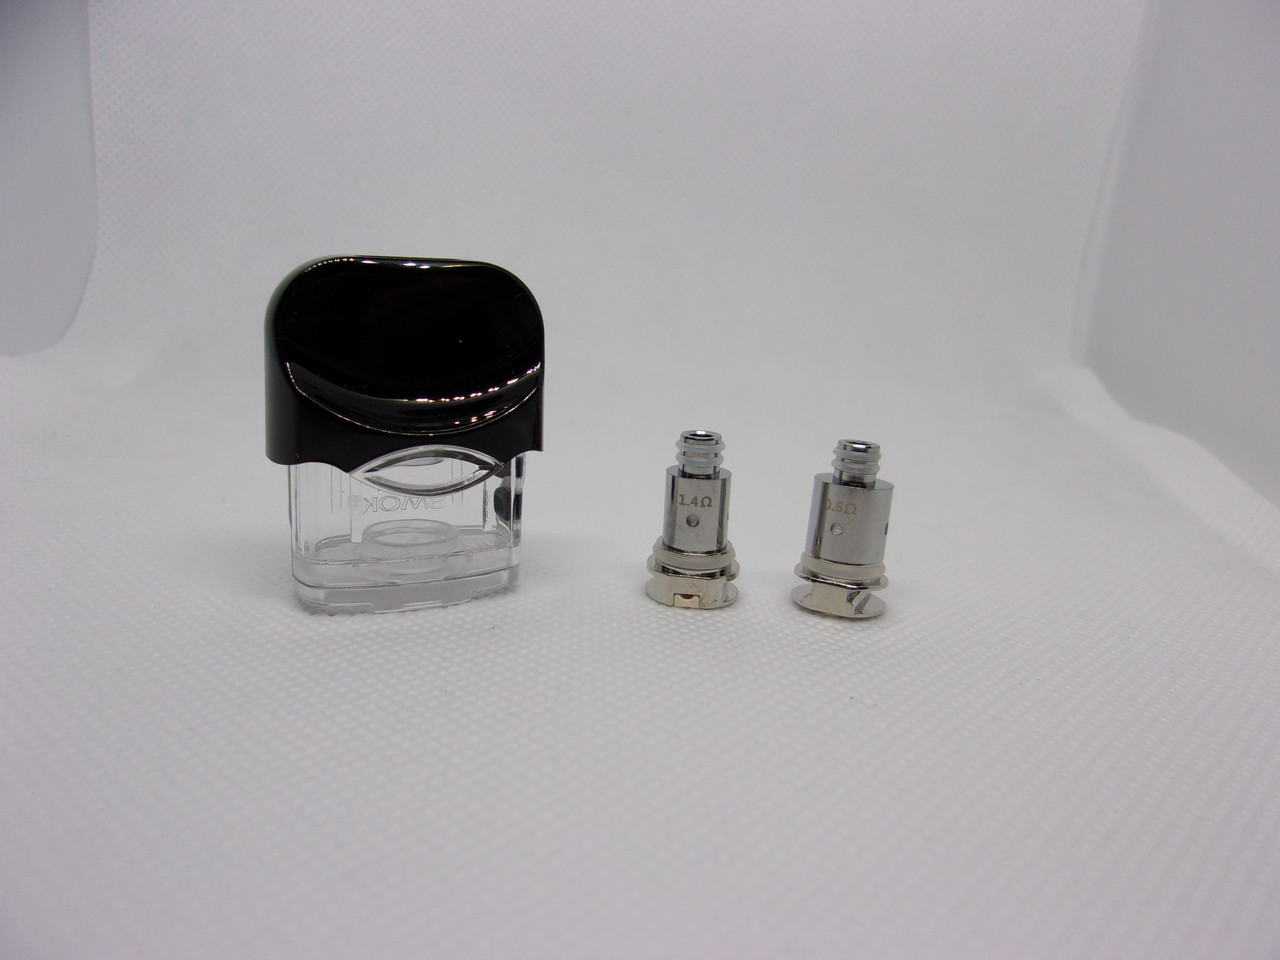
Now that a large number of vapers have traded in their
conventional mod setups for portable, user-friendly pod mods, the vaping
community as a whole is breathing a sigh of relief. These pod systems are so much easier to
maintain thanks to their simple yet sophisticated interfaces. Most of the parts are built into the device,
and there are far fewer settings that a vaper has to be familiar with in order
to customize their vaping experience.
But, that doesn’t mean that there’s zero maintenance
involved with rocking a pod mod setup. Many vapers make the mistake of thinking that
they no longer need to prime their pod coils like they used to with standard
sub-ohm coils. However, failing to prime
those pod coils
can take away from your vaping experience in a number of ways.
Is Priming a Pod Coil Just as Important as Priming a Standard Vape Coil?
Yes, it’s just as important that you prime your pod
coil as it is that you prime a conventional sub-ohm vape coil. That’s because while these two types of coils
are different in many ways, they still serve the same function and operate in a
similar manner. Both of these coils
contain wicks that must be consistently saturated with vape juice. Otherwise, the coil can die because as it
heats up, there’s no e-liquid to prevent the wick from burning. This will result in dry hits, and, of course,
a need to constantly replace those pod cartridges.
Luckily, Priming a Pod Coil is Quite Easy
Time to now walk you through each step so that you can
be a pod-priming pro in no time.
Step #1: Fill Your Pod Cartridge with E-Liquid (Freebase or Salt-Based)
to Its Maximum Capacity
First, you have to fill your pod cartridge with
e-liquid, trying to reach the maximum fill line. This will ensure that there’s plenty of vape
juice in that cartridge to keep the coil nice and saturated throughout the day.
Step #2: Let That Juice Sit
Now, here’s what’s arguably the most important step of
all. We know that once you fill that pod
with vape juice, you’re going to be eager to take a nice, delicious hit. But, taking a hit right away can deliver a
bad taste because your wick hasn’t gotten a chance to absorb vape juice
yet. So, after filling that cartridge,
simply put it down and let it sit upright for five to ten minutes. This is enough time for the wick to become
saturated with vape juice.
Step #3: Blow into Your Pod
So, this step is optional, but it does speed things up
and guarantee that your coil is completely primed before you begin your vaping
session. First, hold the pod in your
hand, placing a finger over the airholes on the bottom. Then, softly blow into the pod a couple of
times in order to force more liquid into that coil. Be careful not to blow too hard or else the
juice may splatter.
Step #4: Take a Few Primer Puffs
Now, as an extra cautionary measure, you can take some
primer puffs, which is essentially puffing on the cartridge five or so times
while it’s detached from the battery.
This will draw more liquid into the coil.
Priming Really Matters!
Clearly, priming a pod coil is extremely simple, and
it’s absolutely worth it. Pod coils need
to be primed in order to keep delivering a delicious, smooth vaping
experience. The next time you break out
a new pod cartridge, make sure that you follow all of these steps.
Leave a Reply