
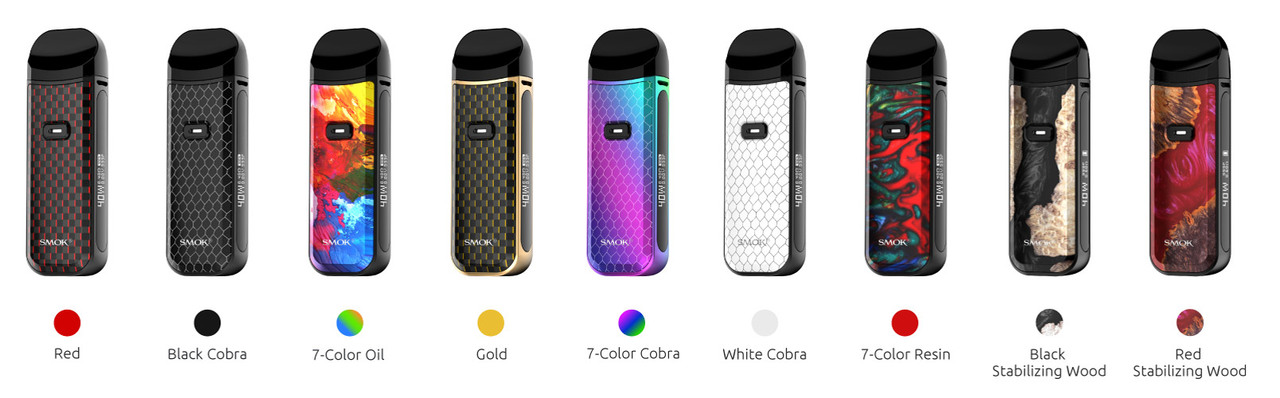
SMOKtech has done it again with the SMOK Nord 2 40W Pod System.
This is one of the most advanced and versatile pod systems on the market today,
coming from a brand renowned for their spectacular use of the very latest in
vaping technology. Being compatible with
various vape styles and offering adjustable output options makes it a must-have
for serious vapers who prefer having options.
We’ve developed an easy guide to setting up this kit,
as well as using it for the first time, in order to ensure that you get as much
satisfaction out of it as possible.
Step #1: In
the box, you’ll find the Nord 2 device, two pods, a cable and a user
manual. Remove the device first. Locate the charging port and install into it
the charging cable. Allow the device to
reach a full charge. Once it is done
charging and is ready to be used, the LED light will turn green.
Step #2: While
the device is charging, you can prepare your pod. The device comes with two pods: the mesh RPM
pod for sub-ohm vaping, and the standard pod for MTL vaping. Choose which one you’d like to use and fill
it with e-liquid. The RPM pod is
compatible with freebase nic vape juice while the standard pod is compatible
with salt nic e-liquid. Fill your pod
accordingly.
Step #3: Attach
the pod to your fully charged device.
Then, turn the device on by clicking the button the appropriate number
of times. Now, adjust your wattage by
clicking the button three times, and pressing it once to make each wattage
adjustment. This may require some trial
and error until you find the ideal wattage level for your preferred vaping
style.
Final Step: Now,
you can take your first hit. Press the
firing button to fire a hit, and inhale the vapor through the mouthpiece. Stay on top of the battery life using the LED
light, and always make sure you have enough vape juice in the pod.
This SMOK Nord 2 40W Pod System is a one-of-a-king
vaping setup that can take your pod vaping to a whole new level. If you wish to get as much out of it as
possible, follow this guide closely to ensure that you set it up and use it
properly.
Leave a Reply