
 SMOKtech has always provides the word of vaping some awesome
hardware, all due to their incredible array of high-quality pod mods over the
last several years. Now, the latest and
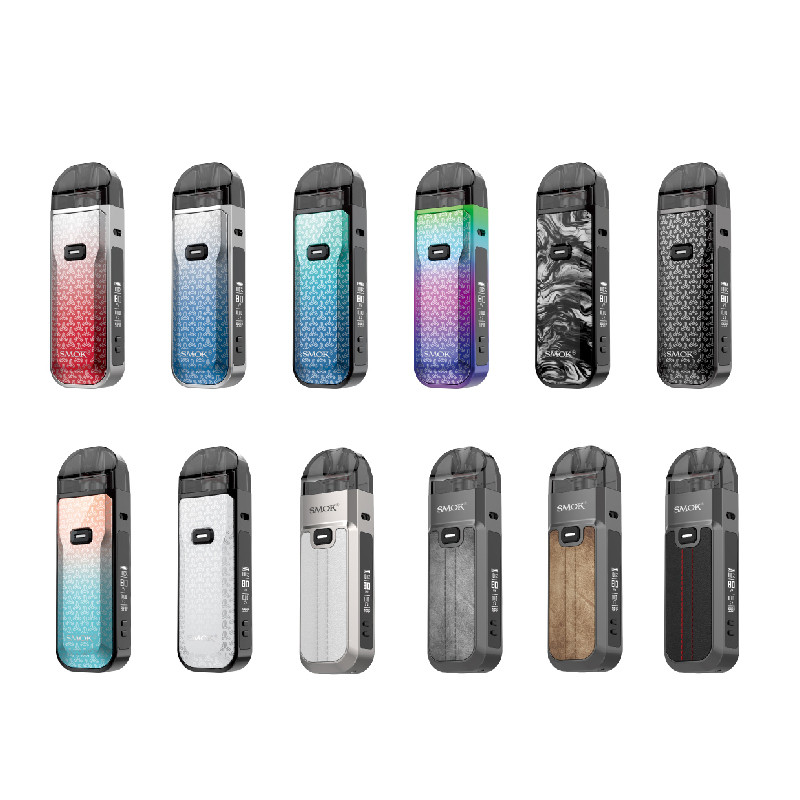
greatest device from this awesome company is the SMOK Nord 5 Pod System. You’re looking at a pod mod that’s packed with
newly advanced functionalities, a user-friendly design, and neat aesthetic
appeal, all coming together to bring vapers that ideal pod-based setup, capable
of satisfying every vaping need.
What is the SMOK Nord 5 Kit?
SMOK’s Nord 5 Pod System, featuring a Leather and
Regular Series, an integrated 2000mAh battery, and a lofty 80W maximum output. Built from durable zinc-alloy, the chassis of
the Nord 5 Pod System is strong and sturdy, protecting the integrated 2000mAh
battery within. Plus, the 5mL pod can
hold a satisfying amount of e-liquid or nicotine salts, eliminating the need
for constant refills, allowing for more enjoyable vaping. And, let’s not forget, the SMOK Nord 5 can fire
up to 80 watts with total ease, while delivering outstanding flavor and vapor
production thanks to the brand’s RPM 3 Coil Series.
An LED Light Indicator allows you to see where your
batter is at, and Intuitive Firing Button plus Two Adjustment Buttons lets you
control how you want your vapes to be. All this can be monitored on its 0.69″
OLED Display Screen. Also has an array
of safety protections.
Using the SMOK Nord 5 Pod System: A Quick and Easy Guide
Time to dive into the process of using the Nord 5. That way, you can start getting the most out
of its various capabilities within minutes of taking it straight outta the box.
Step #1: First,
take the Nord 5 and all the other contents out of the box. In the box you’ll find 1x – Smok Nord 5 Pod,
and 2x coils (1x 0.15ohm RPM 3 Meshed Coil and 1x 0.23ohm RPM 3 Meshed Coil).
Step #2: Time
to charge your device. Find the charging
port, and then plug it into your USB cable.
The unit charges within two hours, and once it reaches a full charge,
the battery indicator will let you know.
Step #3: While
the pod mod is charging, prepare your pod.
To do so, you’ll see a red silicone stopper on the side of the pod. Lift
the stopper and fill the pod with the compatible e-liquid at. Wait several minutes or so before attaching
it to the mod so that the liquid fully primes the coil.
Step #4: Now,
you can attach the cartridge to the pod mod and turn the device on. Just push the button and take a pull.
Final Step: From
here, you can take your first pull from the ergonomic mouthpiece and see how it
feels in terms of short or longer pulls.
Once you get the hang of using this device, check out
its various functionalities that make it such an amazing unit that can meet
your numerous vaping needs.
Leave a Reply