
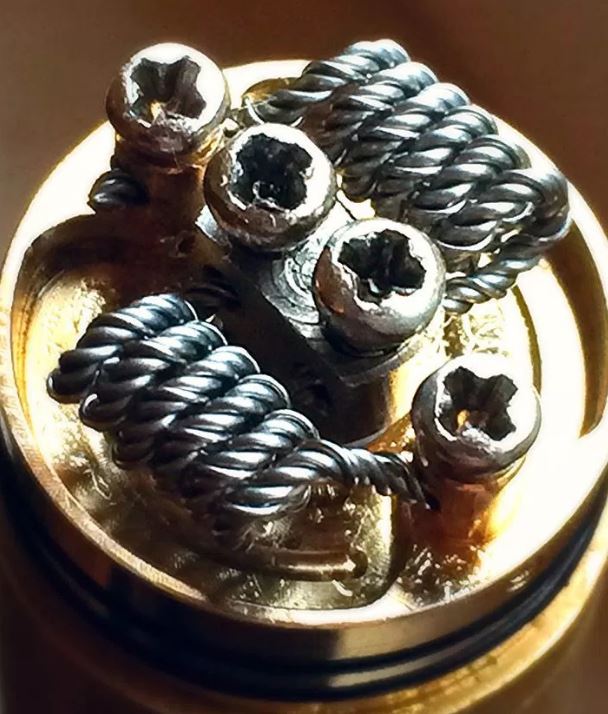
Building Your Own Coils for Your
Vaping Device
If you’re thinking about building your own coils
for your vaping device, you better know what you are doing. There are dangers
involved if you don’t do everything correctly. For a beginner, a good start is
to build a 1.2 ohms single micro coil. With that said, here’s some information
to get you started.
Tools You Will Need:
- Ohms Reader
- RDA
- Resistance Wire: Kanthal will be used for this demonstration
- 2mm Screwdriver or 2mm Drill
Bit - Allen Key or Screwdriver That
Fits Your RDA’s Screws - Small Propane or Butane Torch
- Tweezers with Ceramic Tips
- Small Wire Cutters
- Scissors
- Wicking Material
- E-Liquid
Before You Start
DO NOT
attempt to do this if you don’t have an ohms reader. If you have all of your
supplies together, you’ll need to find out how many wraps the coil will need to
be at the correct resistance. Try out the
coil
wrapping calculator here
to
find out exactly what you will need. For this example, for the 1.2-ohm single coil,
it’ll need 8 full wraps.
Oxidize the Wire
You’ll begin
by cutting a 4-inch piece of the kanthal resistance wire. Hold one end of the
wire with your tweezers. Light your torch and heat the wire until it glows
orange. This will make it less springy which will make it easier to work with. You’ll
need to grab your 2mm screwdriver and start wrapping the wire around the shaft
close to the handle. Keep the coils close together and wrap until you have your
target 8 wraps. Keep the wire as tight as you can. Count the number of wraps on
the opposite side of the two leads and make sure that you have 8. Now, pull on
the leads and make it as tight as you can. Make sure that you do not take the
coil off of the screwdriver.
Installing Your Coil
You’ll want
to loosen the post screws on your RDA, but do not take them out the whole way.
With the coil still on the screwdriver, place one of the leads in the positive
post hole and place the other lead on the negative post. Try to position the
coil in the center of the RDA while still on the screwdriver. Now, you can
tighten your post screws down. Make sure that you don’t over-tighten them. You
can now trim the leads as close to the posts as you can.
Testing Your Coil
You can test
the ohms by connecting your ohms reader to your RDA. Your resistance should
measure between 1.0 and 1.4 if you’ve done everything correctly. If you’re not
getting a good reading, there could be a number of issues that are causing it. Avoid
continuing until you have a correct ohm reading.
Test Fire
Now you can
put your RDA on your
MOD. Fire it up
and see if the coil glows, then stop firing it. Squeeze the coils together with
tweezers and repeat until the coil glows evenly, beginning from the center and
working its way out. You can now place a small piece of wick inside of the
coil. Trim any excess wick from outside of the coil. Wet the wick with a few
drops of e-liquid. Now retest your coil after you once again check your ohms.
That’s it. Your new coil is ready to use. It’s not that hard to do once you
know what you’re doing, but if you are not careful, you can end up ruining your
set-up, so again, be careful. Make sure to check and double check everything
before you begin enjoying the vaping session.
Leave a Reply