
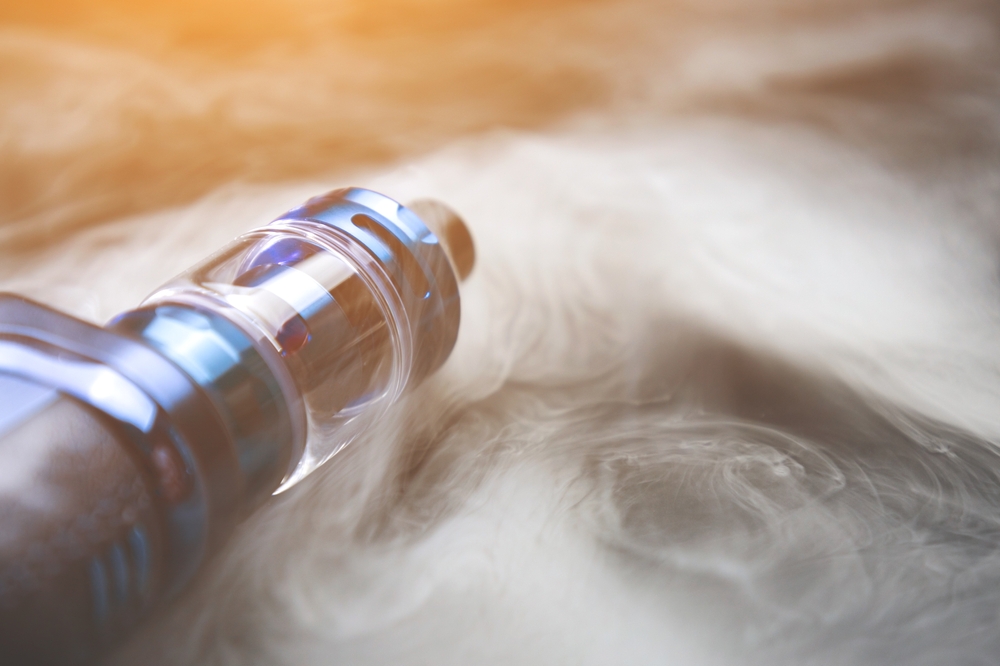
 A sub-ohm tank
is a type of vape tank that’s designed for vaping with resistances below 1 ohm.
The term “sub-ohm” originates
from Ohm’s law in physics, which relates the voltage, current, and resistance
in an electrical circuit. In the context
of vaping, resistance is a crucial aspect because it determines how much heat
the coil in the tank will generate when a certain voltage is applied from the
battery. That’s why these tanks are
popular among vapers seeking large vapor production.
Now, if you’re having issues with a sub-ohm tank, the
solution will depend on the specific problem you’re facing, and that’s what we
are going to be covering here today.
How Can a Traditional Sub-Ohm Tank Break?
Here are various reasons why a sub-ohm tank might
break or malfunction:
1.Physical Damage:
Dropping the tank can crack the glass, damage the threading, or break other
components.
2.Wear and Tear:
Over time, the O-rings and seals can wear out, causing leaks.
3.Improper Assembly:
If the tank is not properly assembled after cleaning or replacing parts, it
might leak or not function correctly.
4.Defective Coils:
A faulty coil might not heat evenly or at all. Over time, all coils degrade and
must be replaced.
5.Cross-Threading:
If the tank or coil is screwed on too tight or at an angle, it can damage the
threading, making it difficult to unscrew in the future.
6.Temperature Changes:
Extreme temperature changes can cause the glass or plastic of the tank to
crack.
7.Chemical Reactions:
Some e-liquids can react with the plastic of certain tanks, causing them to
crack or warp.
8.Over-tightening:
Screwing parts of the tank too tight can damage the seals, threading, or even
crack the glass.
9.Pressure Changes:
Traveling to high altitudes (like in an airplane) can cause changes in pressure
that might lead to leaking.
10.Manufacturing Defects:
Sometimes, a tank may have defects from the manufacturing process that can
cause it to break or malfunction.
11.Overheating:
If the mod (the device to which the tank is attached) malfunctions and
overheats, it can potentially damage the tank or its components.
12.Electrical Issues:
Short circuits or other electrical issues within the coil or tank can lead to
malfunctions.
13.Improper Cleaning:
Using harsh chemicals or not drying parts properly can lead to damage over
time.
14.Excessive Force:
Using too much force when opening, closing, or adjusting the tank can lead to
breakage.
How to Fix a Sub-Ohm Tank
Below are some common issues with sub-ohm tanks and
the potential solutions:
1.Leaking
Tank:
- Ensure that all the parts are screwed
together tightly. - Check the O-rings and seals for any
damage and replace them if necessary. - Make sure the coil is properly seated
and screwed in. - If your coil is old or burnt, replace
it. - Avoid overfilling the tank.
- Close the airflow when filling the
tank.
2.Gurgling
Sound or Spitback:
- Ensure the tank isn’t overfilled.
- Check if the coil is flooded with
e-juice. If it is, take the tank
off the mod, place a paper towel on the airflow and blow into the
mouthpiece without firing. - Replace a saturated or old coil.
- Check the e-juice’s VG/PG ratio. High PG liquids tend to be thinner and
might flood the coil easier.
3.Burnt
Taste:
- Prime the coil properly before use by
dripping e-juice directly onto the cotton wicking material. - Start at a lower wattage and
gradually increase. - Replace old or burnt-out coils.
- Ensure the juice flow holes on the
coil are not obstructed.
4.Not
Producing Vapor:
- Ensure that the battery/mod is
charged and turned on. - Check if the coil is burnt and
replace it if necessary. - Ensure that all connections are clean
and making contact. - Check the mod’s settings to ensure
they are appropriate for the coil’s resistance.
5.Tank
Getting Too Hot:
- Take breaks between puffs to let the
tank cool down. - Ensure proper airflow. Open up the
airflow control more. - Reduce the power setting on your mod.
- Make sure you’re using a coil within
its recommended wattage range.
6.Airflow
Issues:
- Check for obstructions in the airflow
path. - Clean the tank thoroughly, especially
the airflow control ring area. - Replace damaged O-rings.
7.Thread
or Connector Issues:
- Clean the 510 connector on both the
tank and mod. - Avoid over-tightening the tank onto
the mod. - Check for damages on the threading
and consider replacing parts if they are stripped.
8.Cracked
or Broken Glass:
- Many tanks come with replacement glass,
or you can simply purchase one separately. - Remove the damaged glass and replace
it.
Note: If after trying
the above steps your tank still doesn’t work, it might be time to consider
purchasing a new one. Always ensure that
any modifications or repairs you make/do to your vaping equipment are safe and
in line with the manufacturer’s guidelines.
General Sub-Ohm Tank Maintenance You Need to Know
Regularly clean your tank to avoid build-up and
potential issues. This involves
disassembling it and cleaning all parts with warm water (avoid using soap). Let all parts dry thoroughly before
reassembling and using. Also, always
have replacement O-rings, seals, and coils on hand. These parts wear out or get damaged over time,
and having spares can save you a lot of hassle.
To reduce the chances of breaking a sub-ohm tank:
- Always
handle it with care to avoid drops or impacts. - Properly
assemble and regularly maintain the tank. - Avoid
extreme temperature changes. - Use
e-liquids that are compatible with your tank material. - Don’t
over-tighten components. - Replace
worn-out or damaged parts promptly.
Leave a Reply